The Making of Wonder Woman (for $10!!)

I swung into Joann fabrics with the intent of buying *real* material, but instead got cheap and walked out with:
White fabric paint ~ $1
3 XXL t-shirts (red, white, and blue) ~ $9
gold ribbon ~ $2
velcro- $2
I also had this garish gold XS shirt that my roommate and I had found for free from students leaving their old unwanted clothes. I'm not sure I would ever wear this in my life, but the minute I saw it, I just thought "oooo free gold fabric!" and now it's finally coming in handy! My preliminary plan was to use the gold fabric for the belt, the headband, and the wristcuffs.


I started with the skirt, since I've made some skirts before and felt more comfotable with that. First, I cut the blue XXL shirt in half, judging approximately the length I wanted the skirt to be. Luckily, since it's a t-shirt, there's no need to hem the bottom since it's already pre-hemmed! Yay for laziness. For the top of the skirt, I changed the stitch to a looser stitch (ie an inch or so between every stitch). Leaving some slack string at the ends, you can pull the string and cause it to cinch (similar to elastic).


The next part was the shirt/tube top. I thought about making a more structured shirt that looked more like a corset, but I chickened out, especially since I never have even made a tube top before. Again, the fact that it was a pre-made t-shirt worked out to my advantage. I cut the shirt about right under the arm line, turned it upside down, and used the pre-hemmed bottom as the top of the shirt. I started by putting the shirt on the dress form I made from here, and pinned in the edges, and put a safety pin right in the boob area to cinch it. So it ends up my dress form is a bit heftier than I am now, so I had to do another round of hemming in the waist so that it wouldn't fall down. I also removed the safety pin and sewed in the cleavage area. I'm actually quite surprisingly pleased about how it turned out Next project when I'm bored: tube top from old t-shirts.


Almost done! Time for the headband and cuffs, which were pretty easy. I cut off the collar of the shirt (the collar has reinforcements on the inside for extra structure- double win!) and shaped it to look like Wonder Woman's headband. I did this the real way, by turning it inside out, hemming the edges, then flipping it back out. Then, because it was too short, I sewed ribbon to the other edges so I could tie it around my head. Now for the star- I really need to stop being lazy and just print out a stencil instead of free-handing it. But I'm lazy and just used a pen and cut a star out. You can kind of tell that it's uneven, but meh. I then carefully just sewed along the edges of the star onto the headband. This part was also kind of scary, and it's not 100% centered, but it's passable.

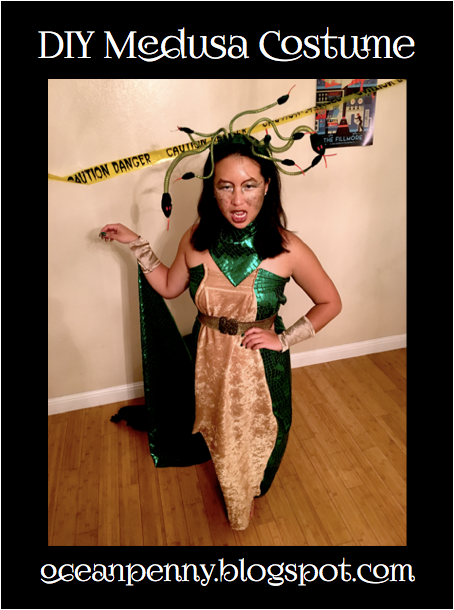
For the cuffs, I just cut off 3 inches from the sleeve and hemmed the edges. I did one and sewed on the velcro. I then matched up the other one, trimmed, hemmed, and then velcro-ed it up too. And ta-dah, head band and cuffs! Also, I like that the cuffs could definitely be reused for future costumes (Jasmine, belly dancer, any other super hero/villain maybe?) (update: used the cuffs for my Medusa costume two years later! yay for upcycling!)


I didn't intend on doing the boots, but then as last minute inspiration, cut more of the gold shirt and just taped them to the boots. If I cared more, gold duct tape would've been better, but I didn't want to run the risk of ruining the boots.
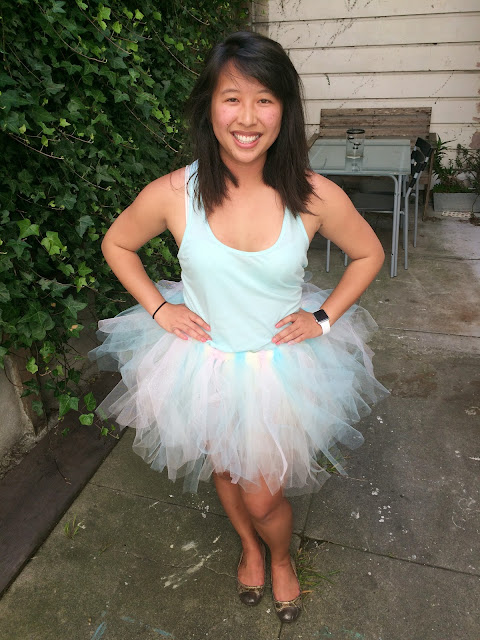
And... here's the final result!! I didn't end up using the white XXL shirt at all, so I would estimate the cost of this costume to be ~$10. Anddd people didn't notice that it was homemade, which means that my shoddy craftsmanship mostly goes unnoticed ;)

Comments
Post a Comment